Table Of Contents
- What Are Site Kits
- Selecting a Kit
- Applying A Kit
- Editing The Content
- Editing Site Kit Global Settings
- Creating The Menu
- Other Information
What Are Site Kits
Site kits are a bundle of templates, pages, pop ups, and all the needed parts for a complete website. Rather than importing each template individually as we have done in the past, you may now import all the content at once. The Kits Library can also help users learn about website structure, including all must-have pages and parts that every website needs to include. Each kit comes with a complete design and structure of a full website and includes content pages, Theme Builder parts, and Popups. Learn more here.
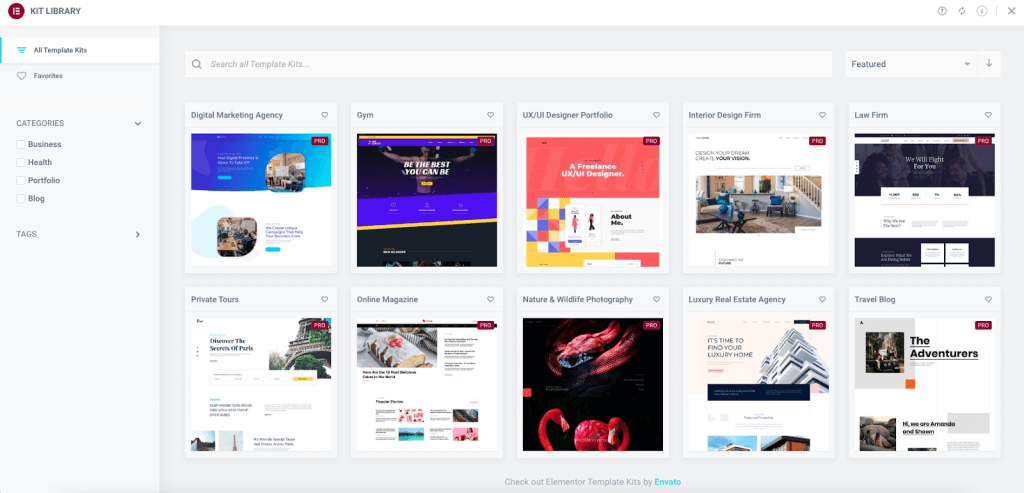
Selecting a Kit
You may open the kit library by navigating to the WordPress Panel > Templates > Kit library. From there, you can choose one that best suits your needs. Kits can be completely edited after importing so use your imagination if a specific template genre is not yet available.
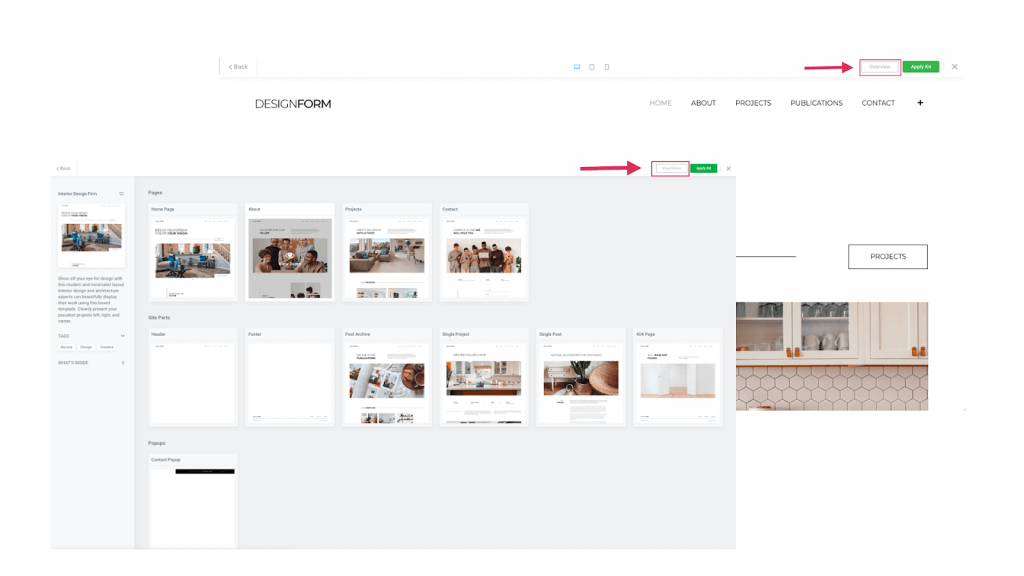
How Kits Are Structured
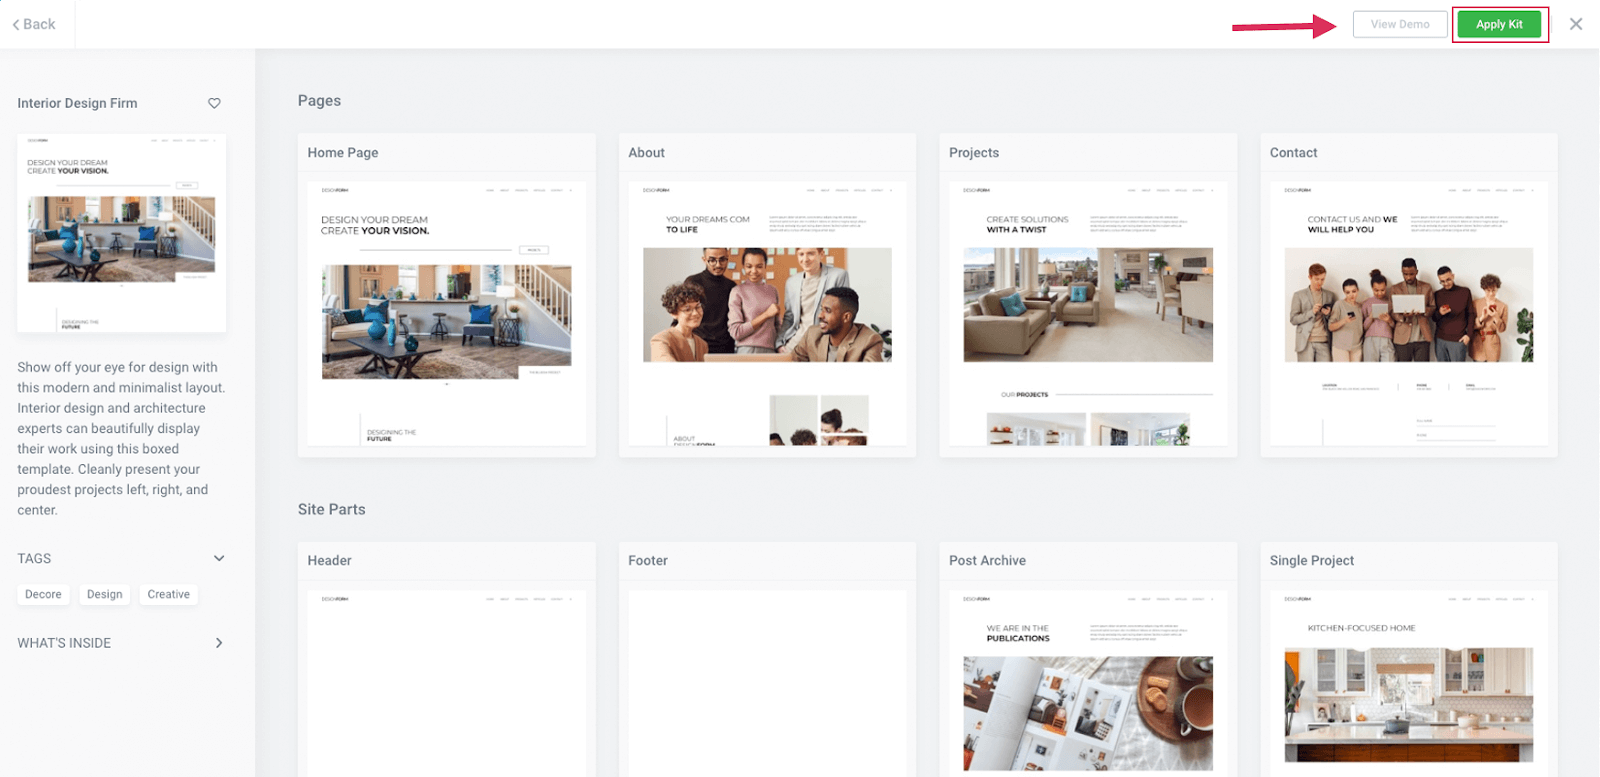
Site Kits are bundled with all the needed site parts and templates.You can see a working demo of the complete kit before importing. By clicking the Overview button at the top of the kit, you may view all the items that you will be importing. These typically include several demo Pages, Posts, and all the Theme Builder Site Parts (header, footer, archive, single post, single page, 404, etc).
Free Kits
Free kits are included in the library. They will only contain sections, widgets, and settings available to free users. Hello theme users may use the Header and Footer Customizer in the Site Settings in order to customize these site parts. This option is active on all new sites. If you have an existing website, you may need to enable this feature by navigating to Elementor > Settings > Experiments and activating the option.
Applying A Kit
When you have selected the Site kit you would like to use, you may start the Import process below:
- Click the Apply Kit button
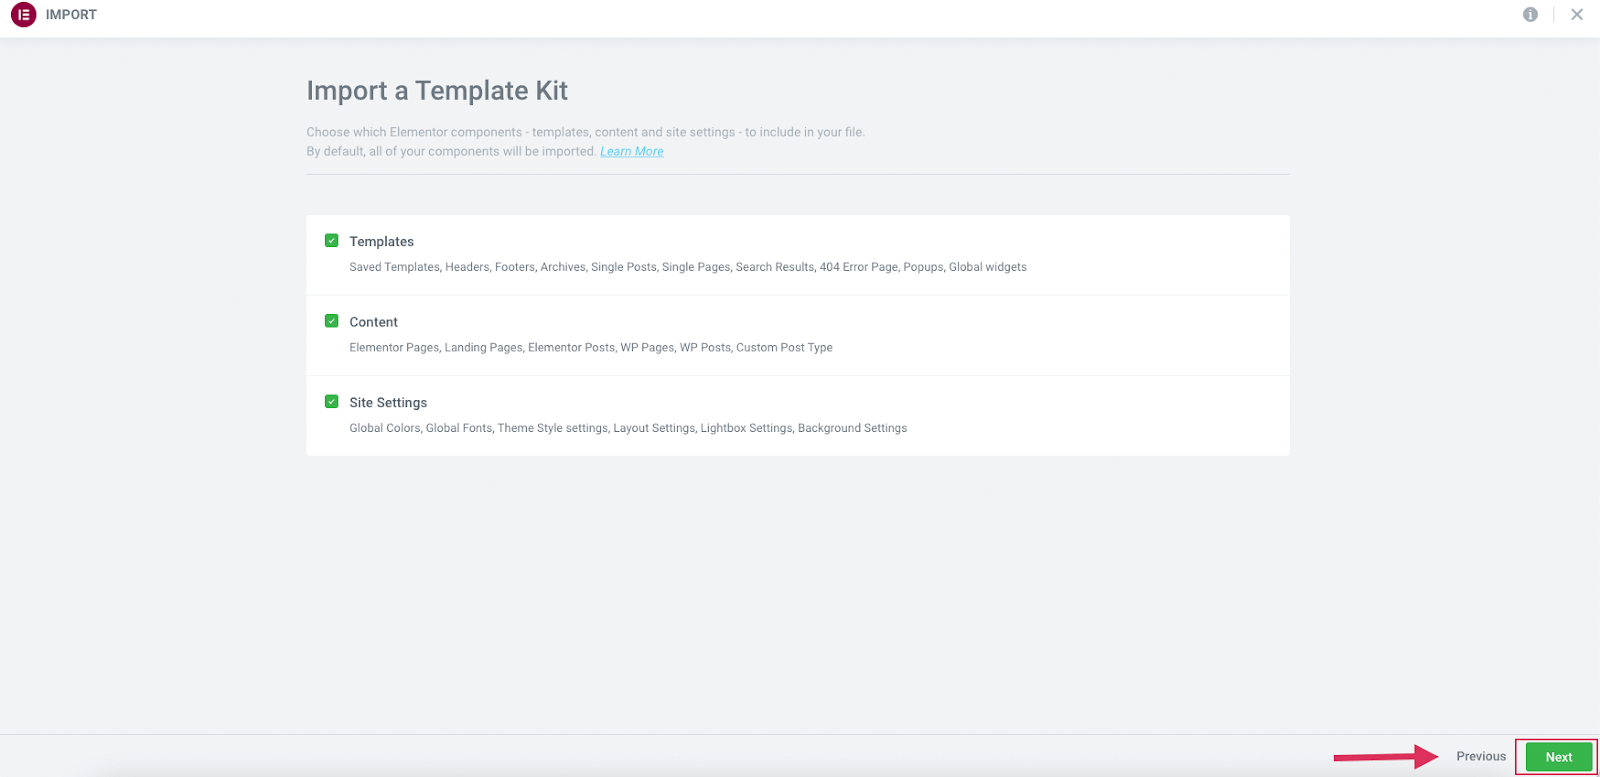
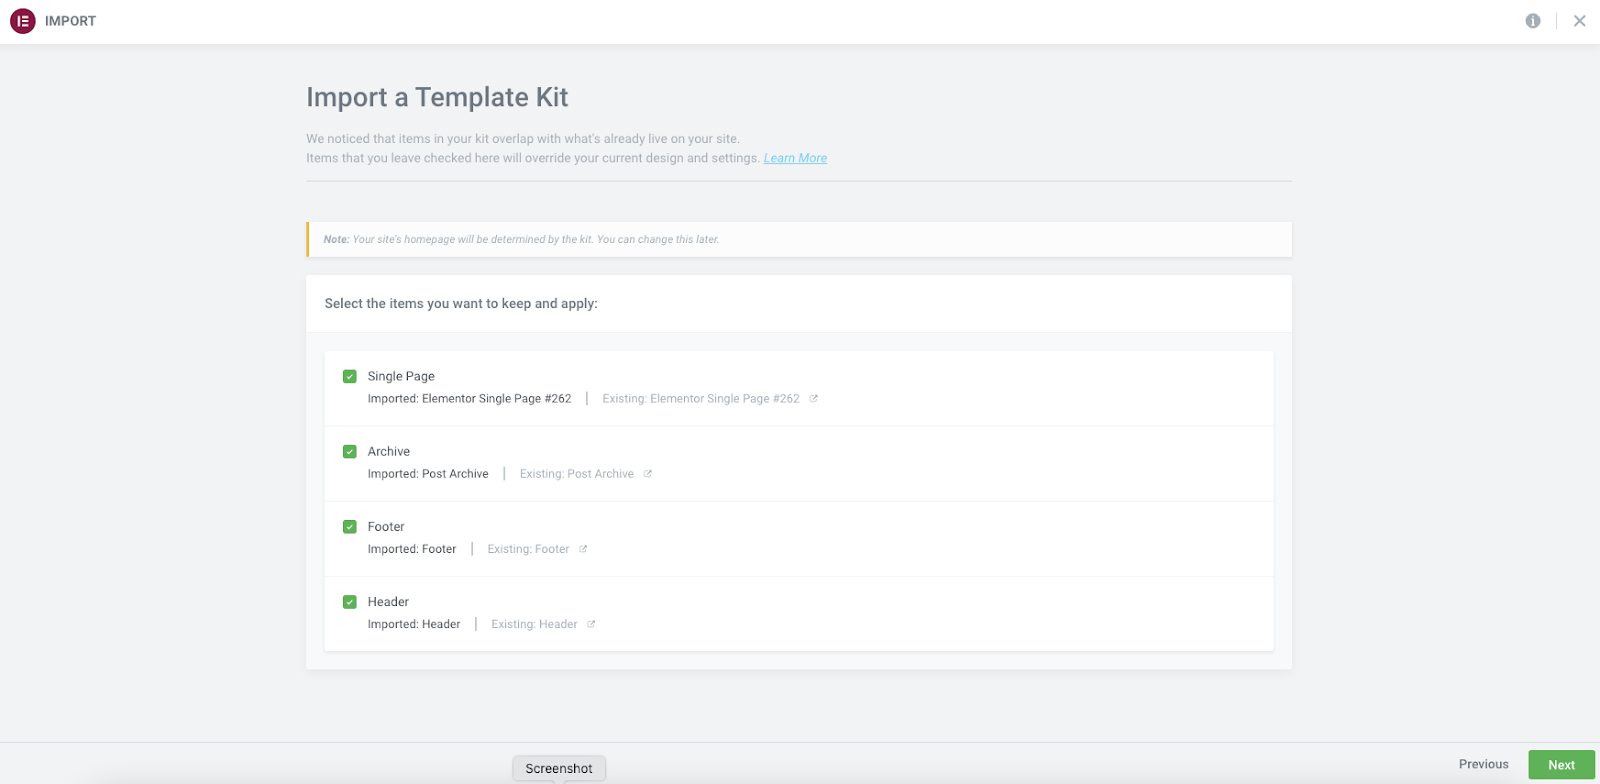
- Select the content you wish to import. You may keep all toggled, or only choose to import parts of the kit. Once completed, click the green Next button at the bottom of your screen.
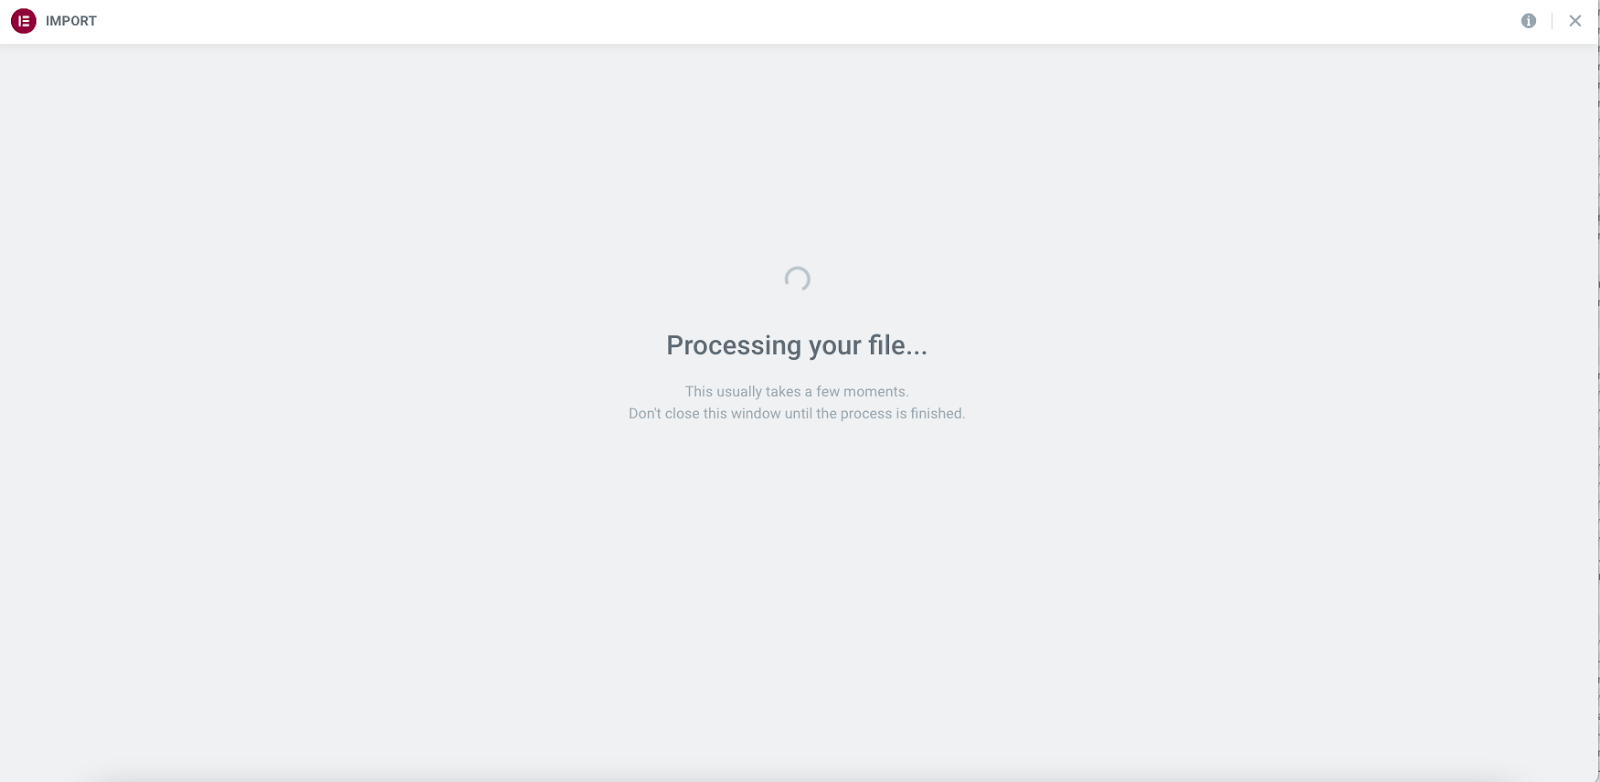
- The importer will now process your request. Do not close or refresh this page until complete.
- If your website already has Theme Builder Templates assigned, you will be asked to select the templates you wish to override. Unselected templates will still be imported but without display conditions.
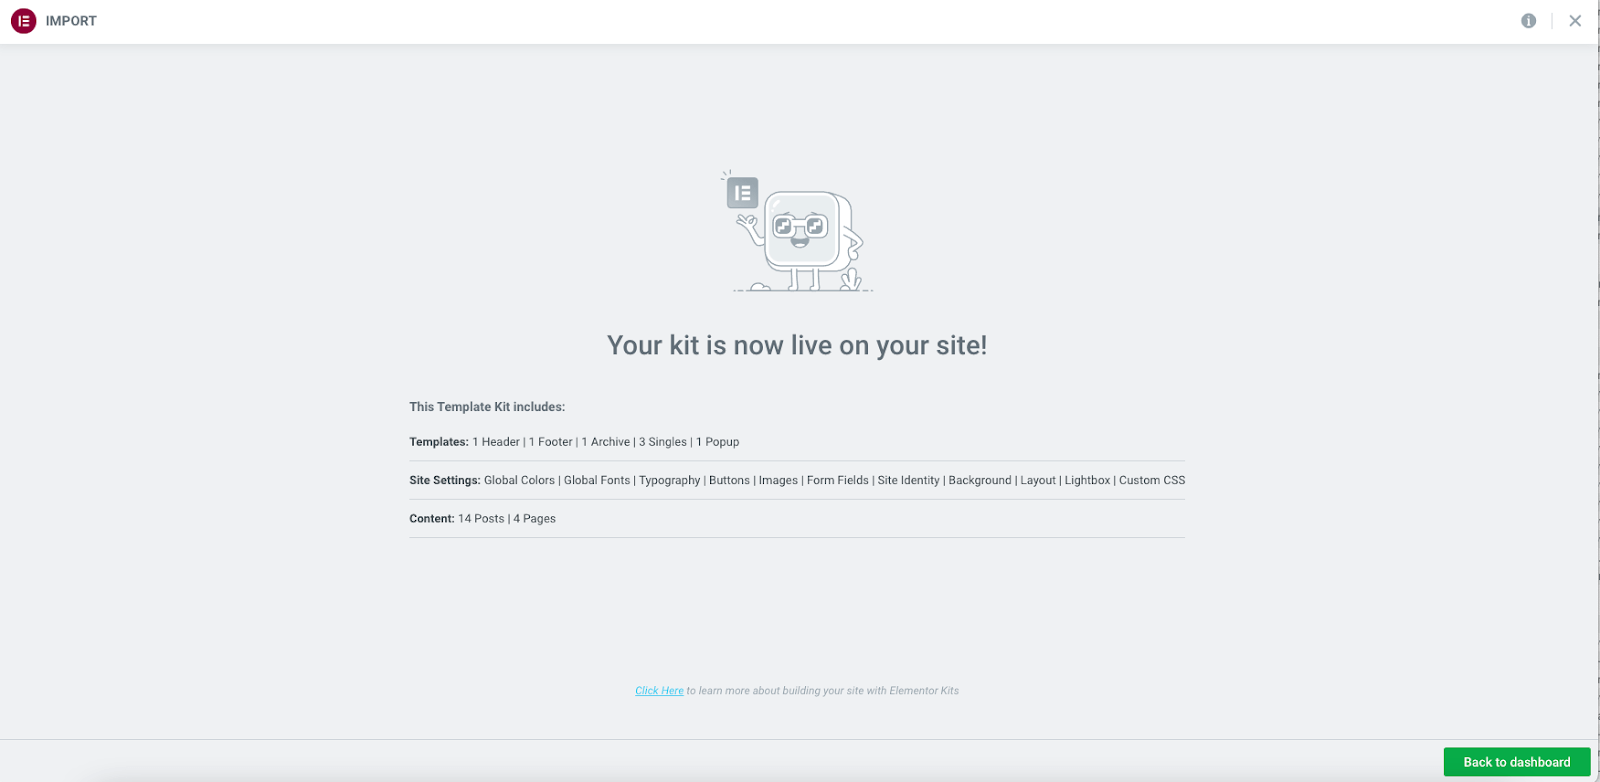
- Once the import has completed, you will see a complete list of all imported content. You may now return to the dashboard and view your content.
Editing The Content
Editing The Pages
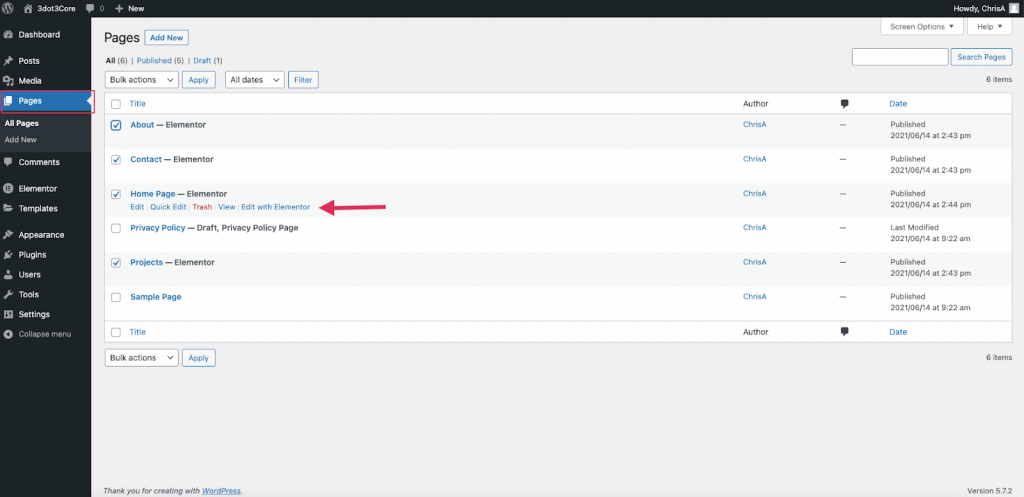
Your kit will import several pages. These can be found in the Dashboard > Pages area of WordPress. To edit them click the Edit with Elementor link. For more information on editing with Elementor click here.
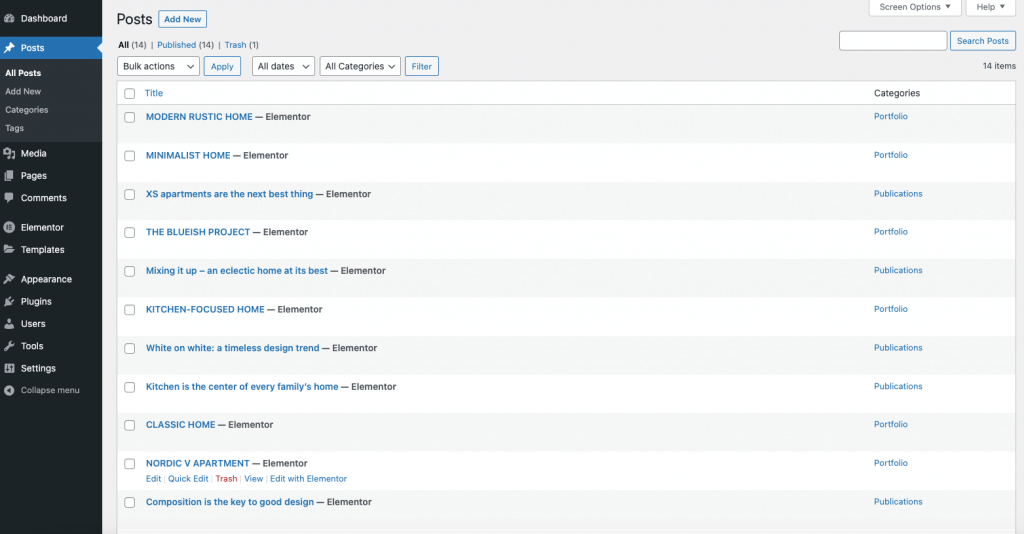
Editing The Posts
In order to help get you started, sample Posts will be auto generated, this helps you to visualize the Archives, Single Post, and other Kit layouts. Once you have started adding your own content these posts may be deleted.
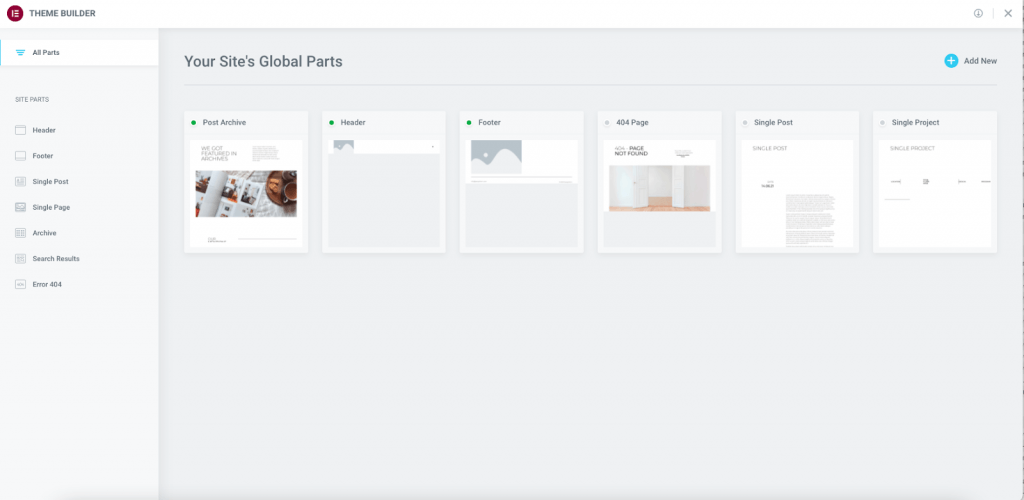
Editing The Theme Parts
The Kits will also import the Theme Builder Theme Parts. These will include the Header, Footer, Archive, Single Post, Single Page, and 404 Page (if applicable to the Kit) You can find these parts in the Theme Builder. For more on the Elementor Theme Builder click here.
Editing The Popups
If your Kit includes popups for contact forms, navigation, or other uses, you may locate these in the dashboard located in the Templates region.
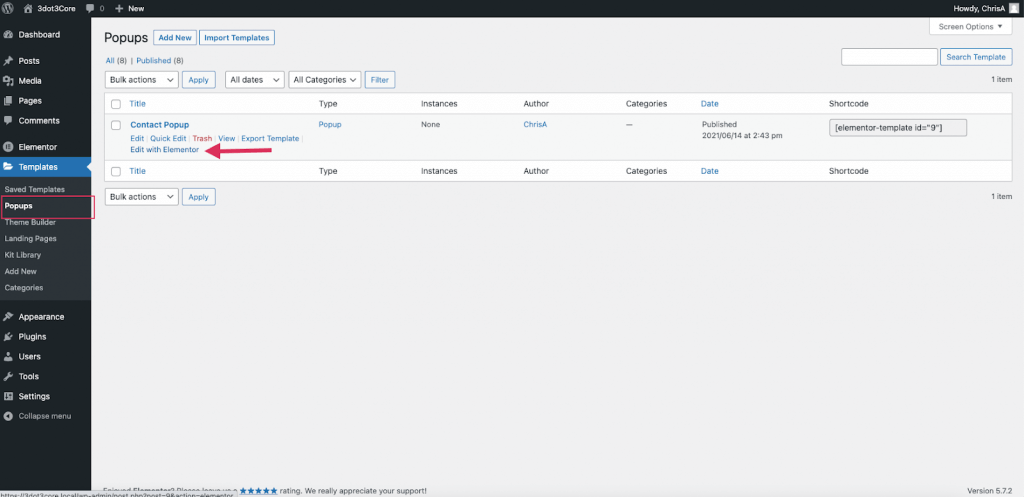
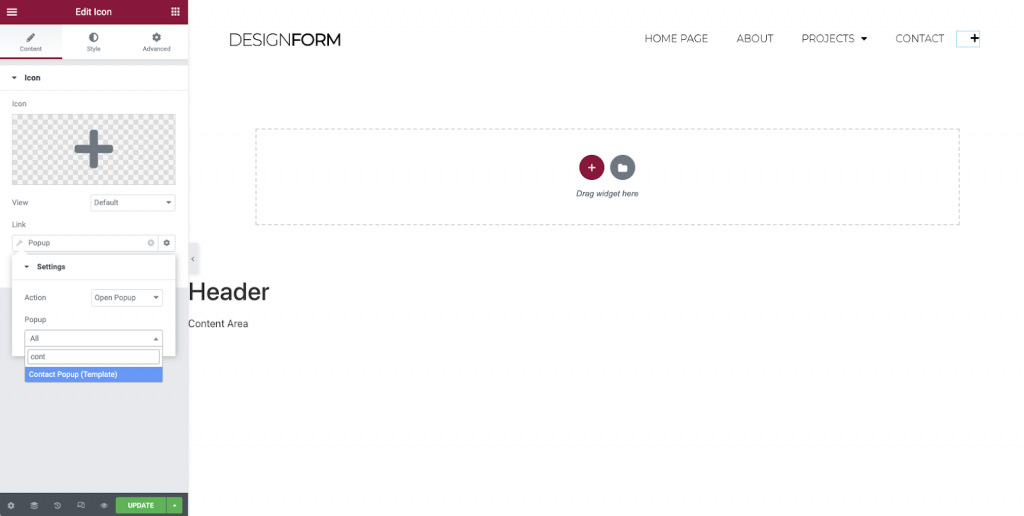
You can add the Kit Popups to the icons or links by using the dynamic options. For more about popups click here.
Editing Site Kit Global Settings
When working with Site Kits, the Global Fonts and Colors have already been set up for you. To edit these, we will use the Global Site Settings.
Editing The Global Fonts
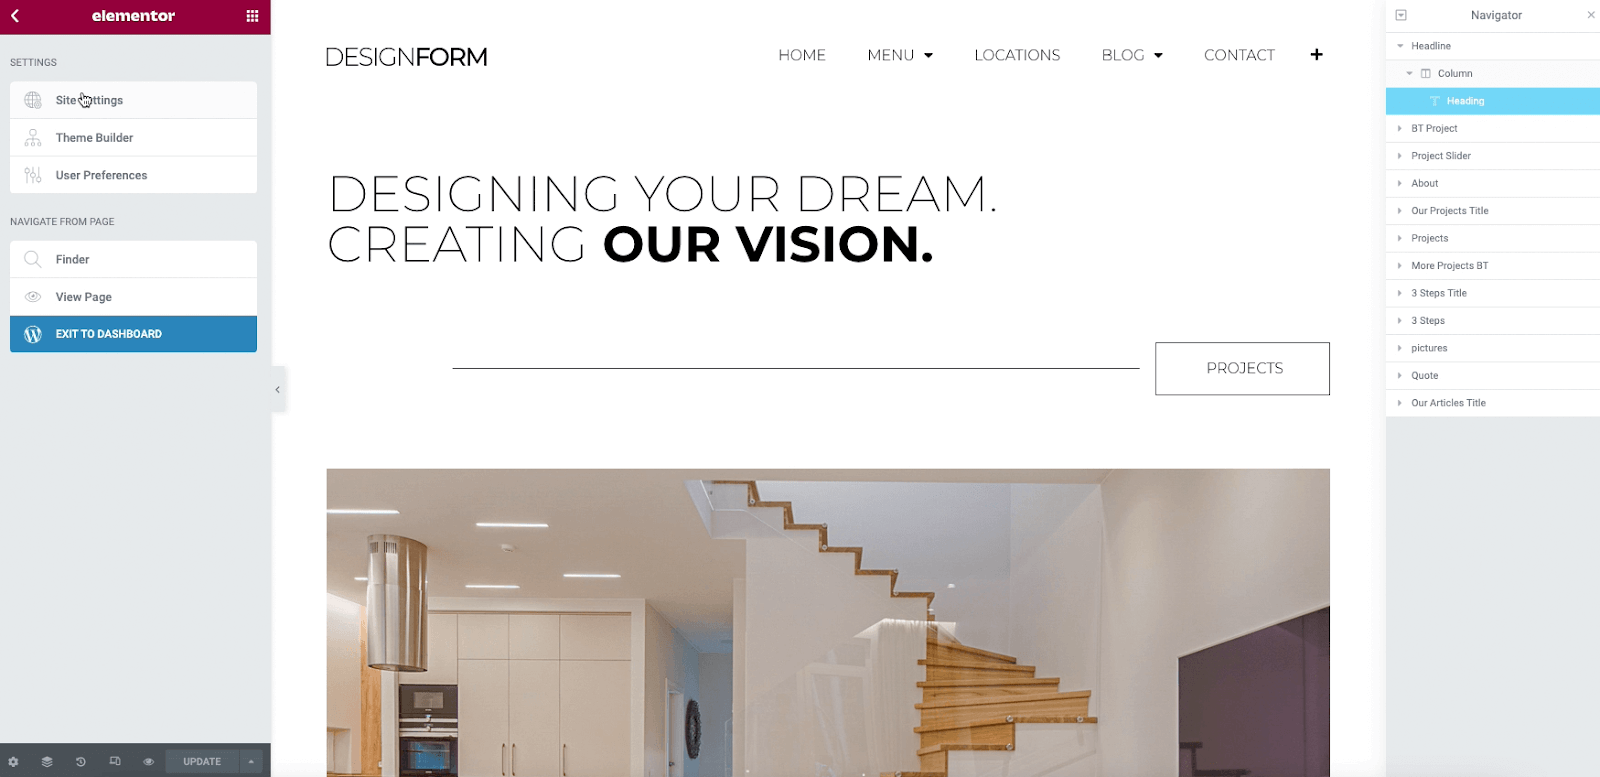
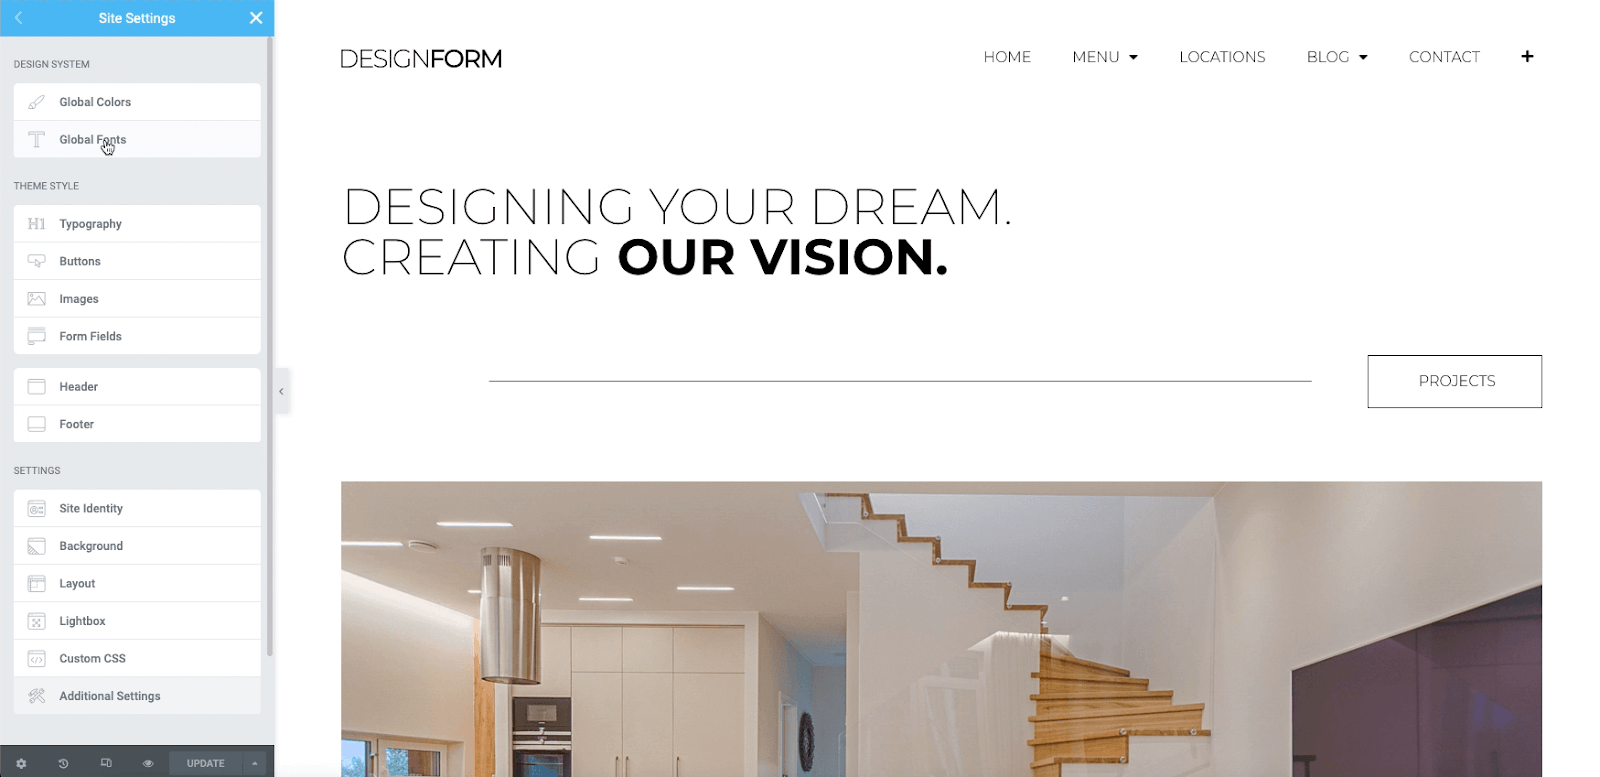
- Locate the Site Settings – You may find the site settings from the top corner of your editor panel.
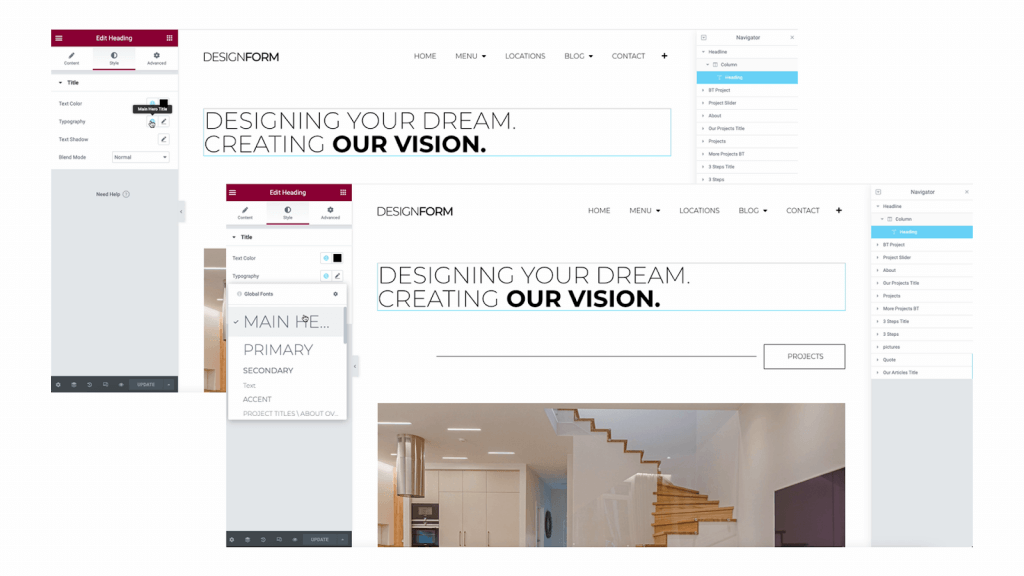
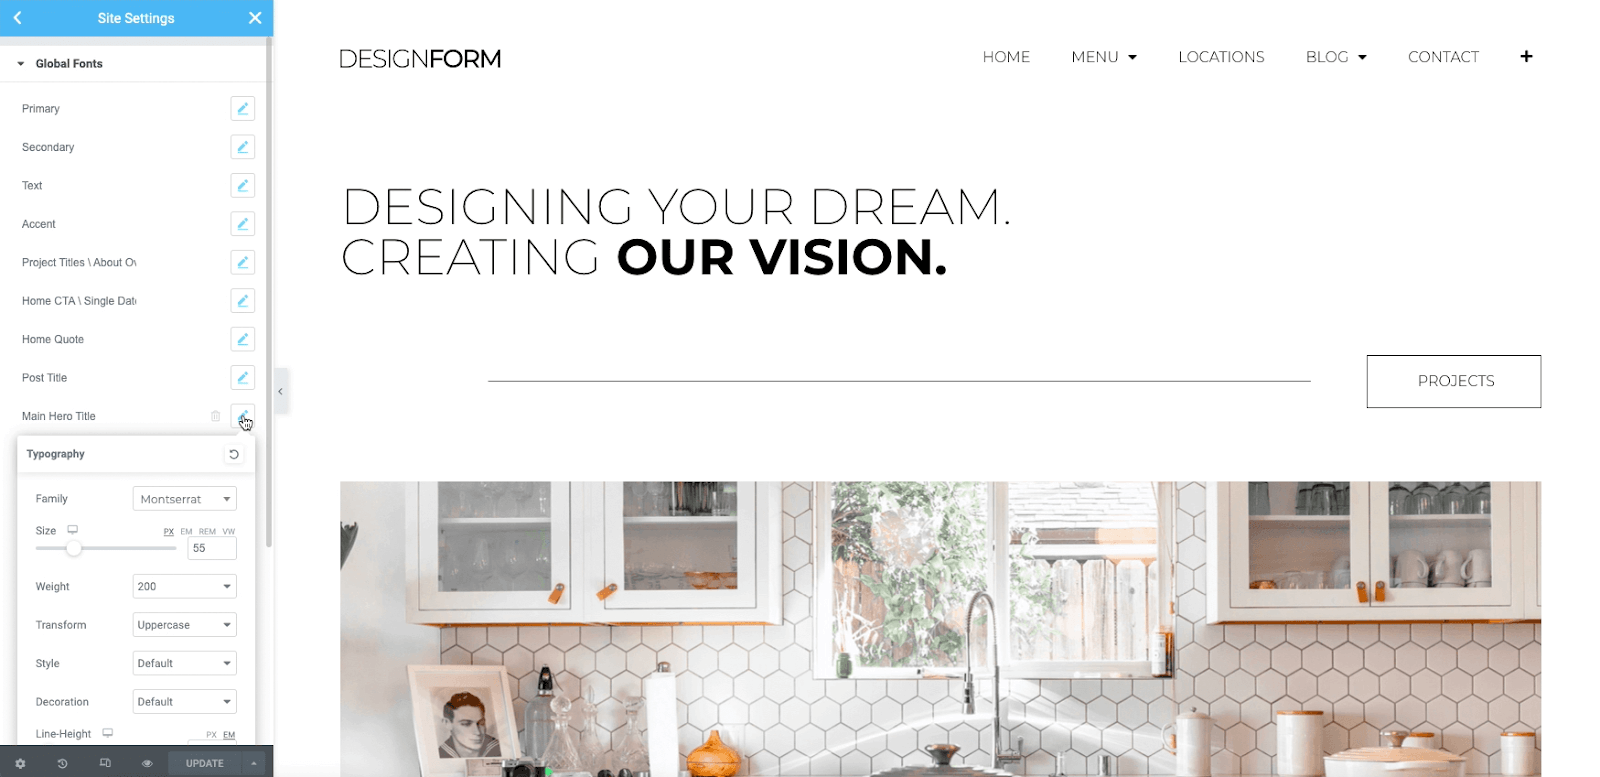
- Locating the Global Fonts – The Site Kit fonts are all located in the Global Fonts settings pictured below.
- Locating the Main Hero Title settings – In our example, we are editing the Main Hero Title. You will find this in the list of imported styles. Editing the settings here will update the font on all usages in your site.
- Changing the Font Settings – Select the new family you wish to use for your Main Hero Title throughout the website. You may also set the size, weight, transform, style, decoration, line-height, and letter spacing at this time.
- Update your site settings – Click the blue update button at the bottom. You may edit the other global fonts located on this page at this time, or return to the editor.

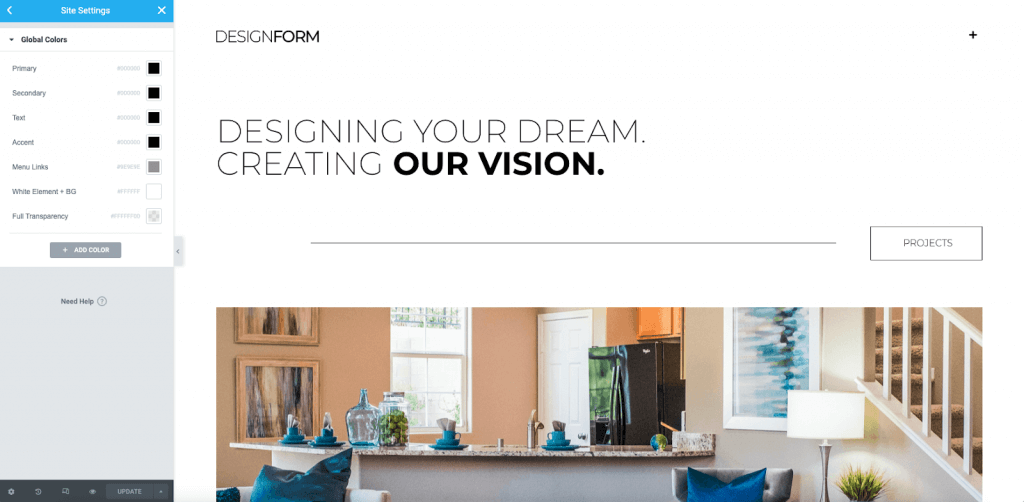
Editing The Global Colors
Your Site Kit also uses Global Colors in headings, text, backgrounds and buttons. These may also be found in the Site Settings at the top under Global Colors. You may edit these using the color picker. These settings will apply to all the applications used on your Kit. Learn more about Global colors here.
Note: You may find that some kits also use the general site background color. You can change this located in Site Settings > Settings > Background.
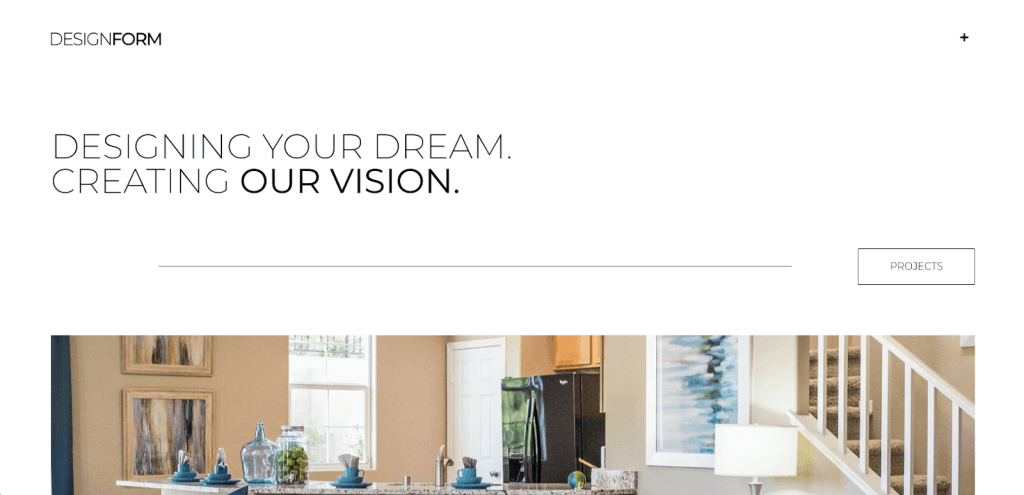
Editing The Site Identity
Navigate to Site Settings > Site Identity. Here you can change the name of your site, the tagline, the logo, and the favicon.
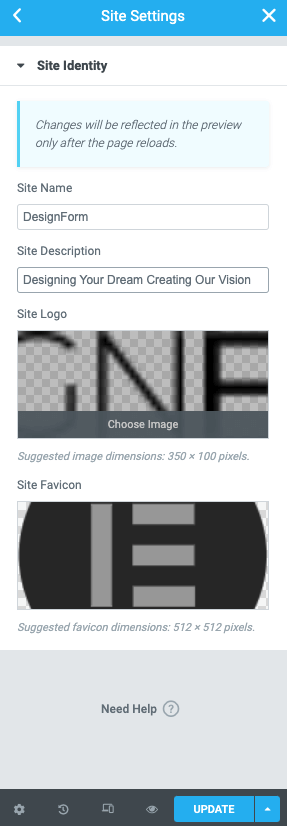
Adding The Logo
To add a logo to your imported Kit, you may assign it by uploading your logo in the Site Identity settings. It will then be used for the header and footer of your website when the Site Logo Widget is used. You may use jpg, png, and GIF file types.
Note: SVGs may be used if previously uploaded to the media library. You must also define a size in the style tab of your Site Logo Widget.
Creating The Menu
At this time, the Site Kit does not automatically create your Navigation Menu. You will need to create your own menu from the WordPress dashboard located at Appearance > Menus or from the Customizer.
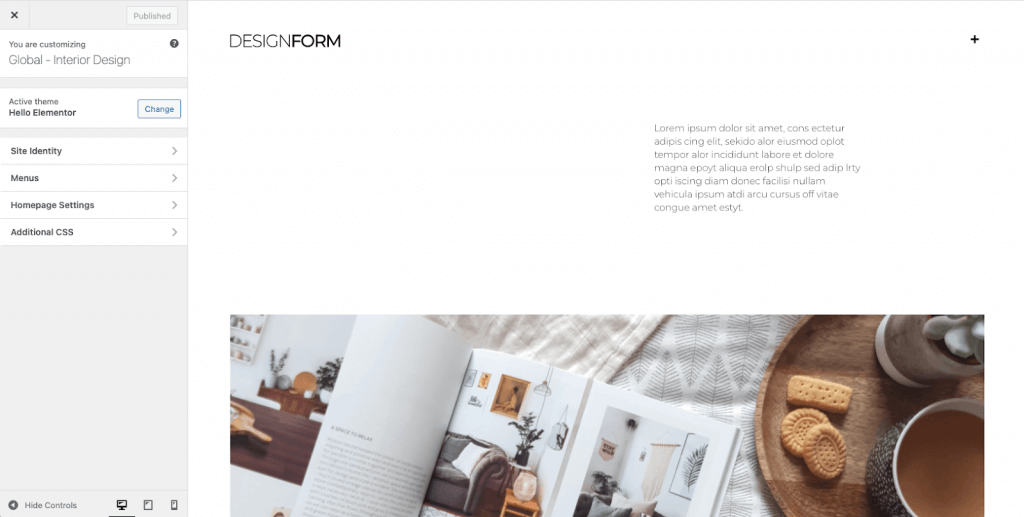
Creating A Menu With The Customizer
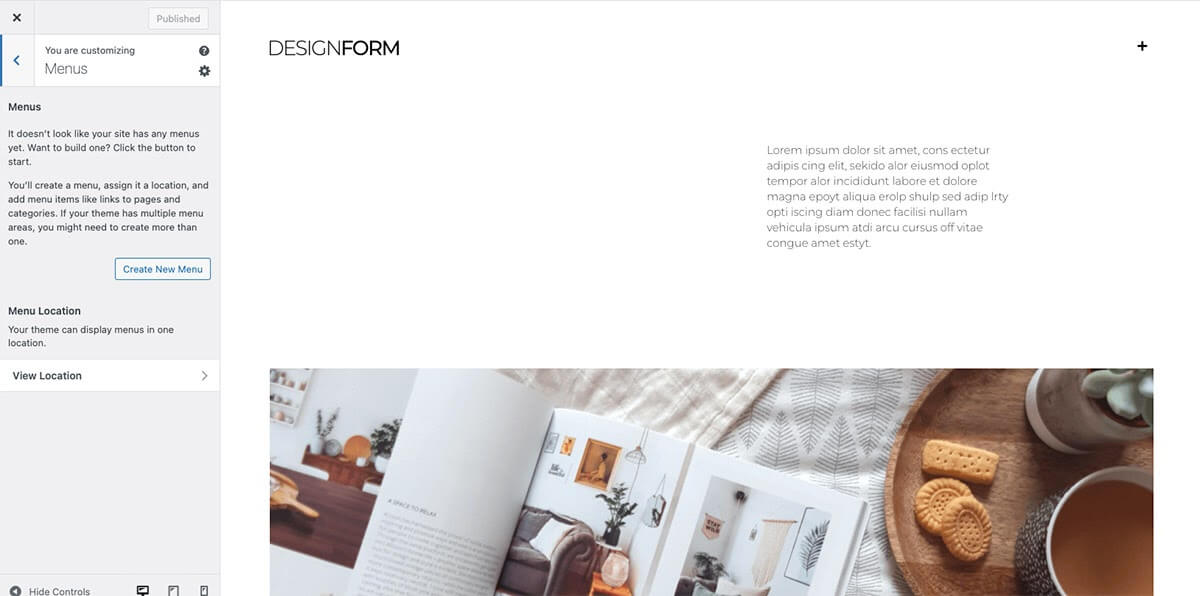
From the top Admin Bar of your website, choose to enter the Customizer. For this example we will be using the Hello Theme. Select the Menus accordion here:
- Click the Create New Menu button
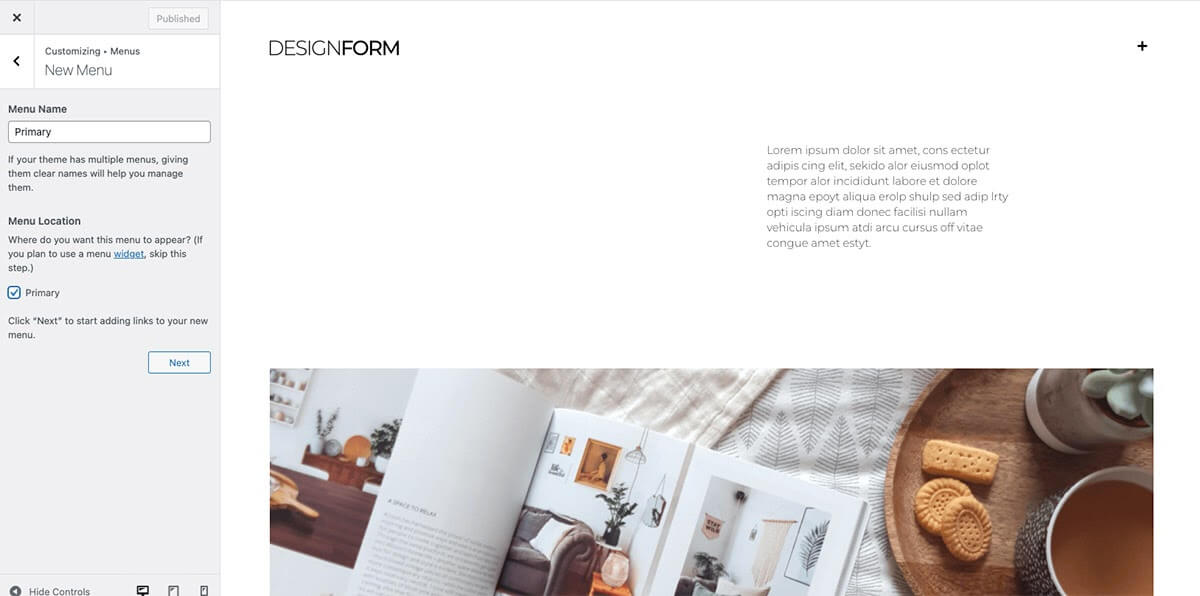
- Name your new menu (example: Primary) and toggle the menu location.
- Click the Add Items button. A panel will expand showing the available items to add to your menu. Add our newly imported Elementor Pages.
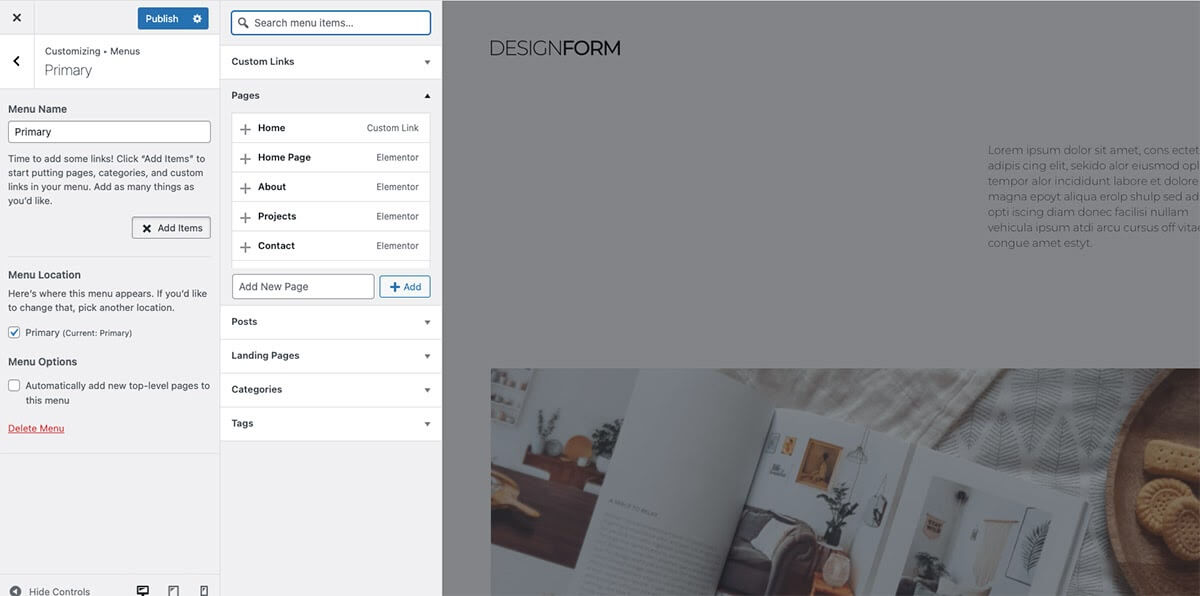
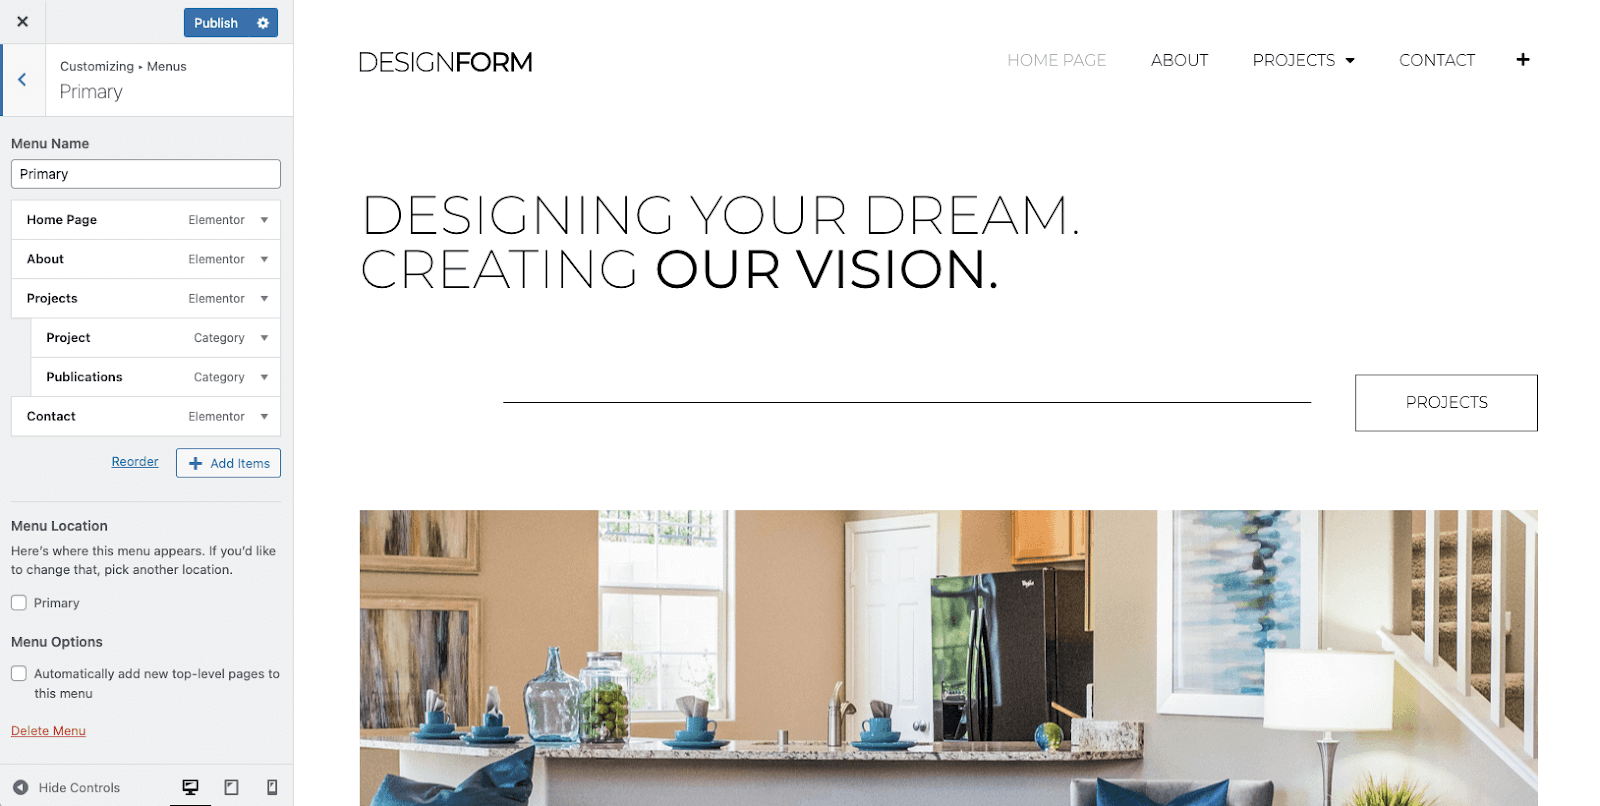
- You will now have these pages in your menu. You may click and drag to reorder them as desired.

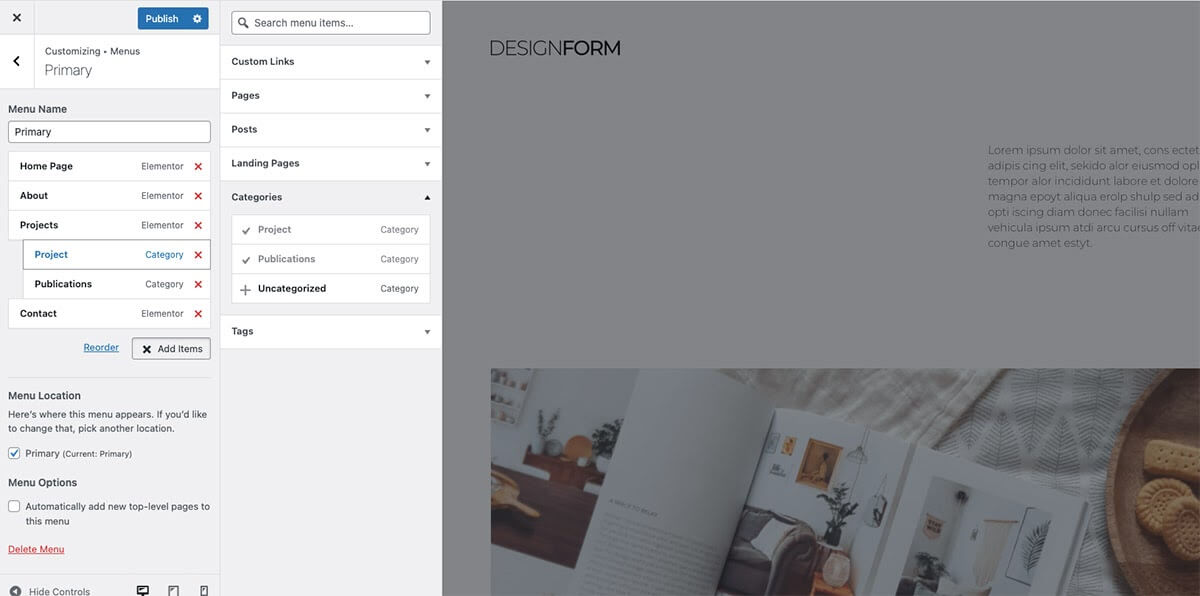
- You can also add Categories or other content related to your Kit by expanding the items.
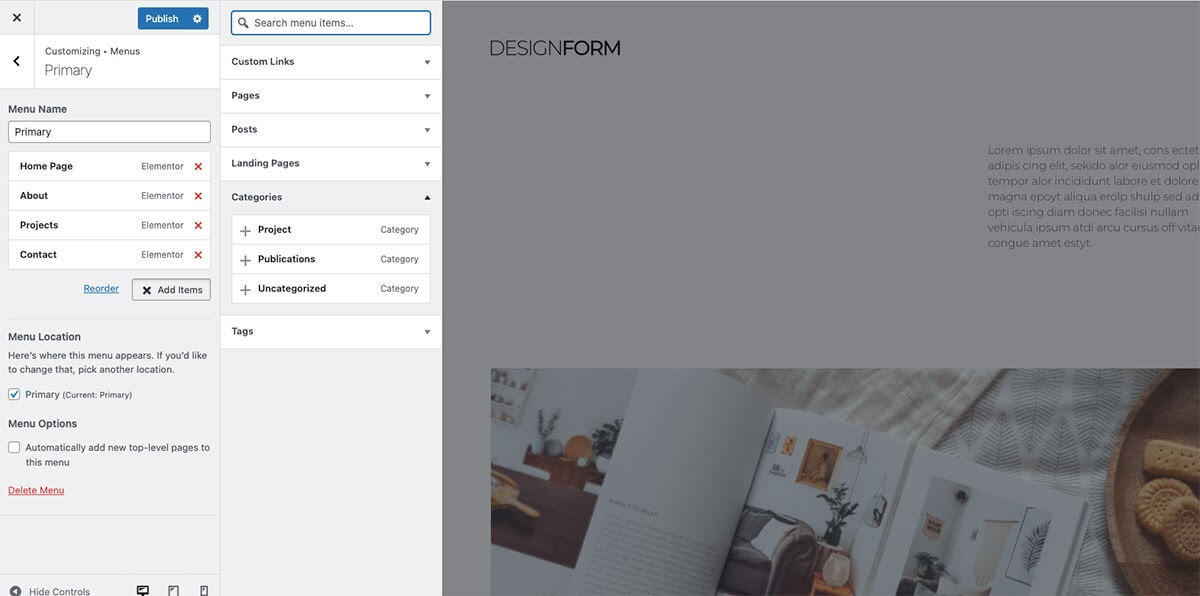
- Create Sub-Menus by dragging the items under a parent item so they are slightly indented.
- Publish your menu. It will now appear in the header of your kit.
Other Information
Note: Learn more about the Navigation Widget here.
Note: Please be advised that some of the Kits contain third-party images, videos, media, files, audio and other visual components. While we have the right to use them in our Kits Library, we cannot ensure that you may use them in your own product. Therefore, please replace or remove all above assets from your copy of the Kits.
Important: Importing Site Kits may overwrite or append your current sites data. It is best to use Site Kits on a new installation or after a reset. Please make a backup if installing a kit on an existing site.