When you use a theme for your website, you get your theme’s Single Post Template.
It’s made out of different elements: a Post Title, Post Content, a Featured Image, Metadata, Comments, etc.
With Elementor you can control the Layout & Design of the Single Post Template – on any theme.
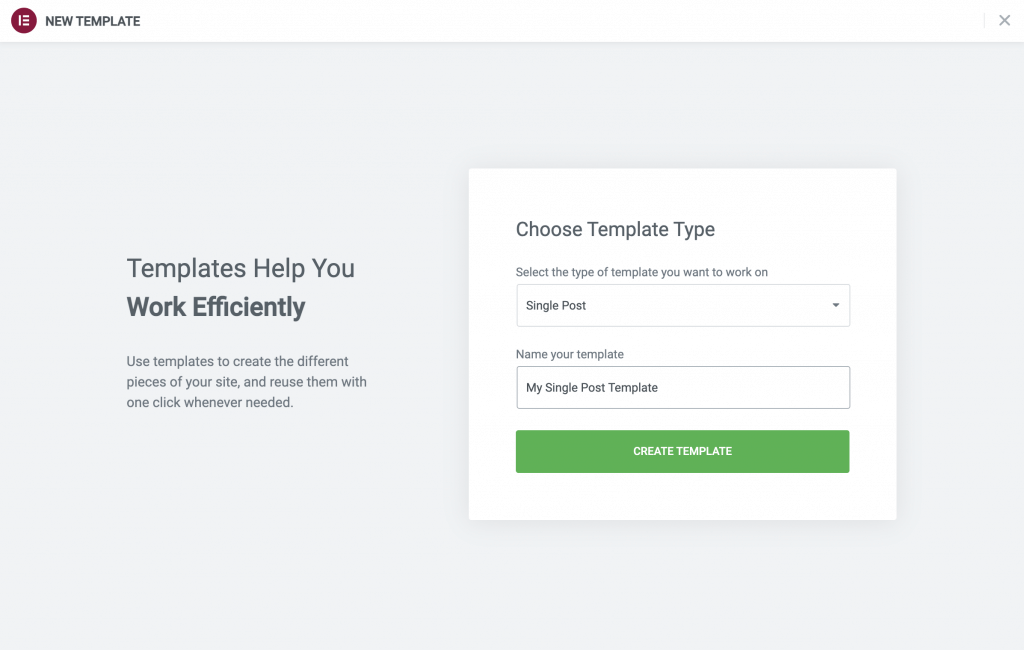
- Under Templates > Add New, from the dropdown select Single Post, give it a name, and click Create Template.
- Choose a Post Block and Insert. Alternatively, you can design your own.
- Click the gear icon in the lower left corner of the widget panel to select a specific post as the preview example while editing.
- Edit any elements as you’d like. After you’ve finished designing, click Publish.
- Choose a Condition. Click to learn about conditions.
Templates > Add New

Choose Template Type
Select from the Templates Library and Insert

Choose which post to preview while editing

Edit any elements needed, then Publish and set Display Conditions

To view an in-depth video on how to create a single post template click here. Read more in our step-by-step how to build a single template tutorial.
Only posts that use the Default Template will have the Single Post Template applied to them, even if they otherwise meet the Display Conditions criteria. Posts that use Canvas or Full Width template (or any template other than Default) will not have the Single Post Template applied to them.