The Tabs Widget allows you to divide your content into tabs, either horizontally or vertically
Content
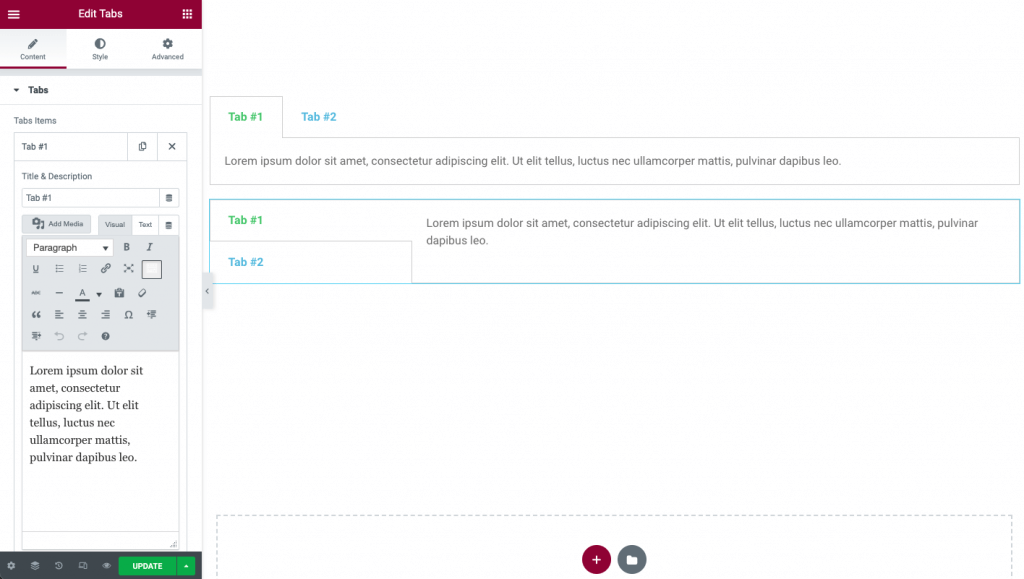
- Tabs Items: Enter a title and content for each tab
- Add Item: Click on the Add Item button to add another tab
- Type: Choose Horizontal or Vertical tabs
- Position: Choose from Start, Center, End, or Justified
Tip: Items can be moved up or down in the list by simply using the drag and drop method.
Style
Tabs
- Border Width: Set the thickness of the border around the tabs
- Border Color: Choose a color for the border
- Background Color: Choose a background color for the tabs
Title
- Title Color: Choose the color for the title of the tabs
- Active Color: Choose the color for the title of the tab that is currently selected
- Typography: Set the typography options for the title
Content
- Color: Choose the color of the content
- Typography: Set the typography options for the content
Advanced
Set the Advanced options that are applicable to this widget
How to add a widget inside a Tabs widget
You can insert another element into a tab this way:
- Create the element that you want to insert inside a tab and save it as a Global Widget.
- Go to your Template Library and copy the shortcode of the relevant global widget.
- Within the Tabs widget, click on the Add Item button to create a new tab.
- In the text area of the tab, paste the shortcode you previously copied.
Note: Using Elementor template shortcodes within the widget may sometimes work, but it is not a supported feature.