Congratulations on signing up for Elementor Pro. This guide walks you through the entire process of installing and activating Elementor Pro on your WordPress site.
Note: Elementor Pro is an extension of Elementor, so you must have Elementor installed. If you still haven’t installed Elementor, check out this installation guide.
- After purchasing Elementor Pro, go to my.elementor.com
- Login with the details you received in the email after purchase
- After the login, you will reach the ‘My Account‘ page. Click on the Download Plugin button in the upper right of My Account section and download the .zip file to your desktop
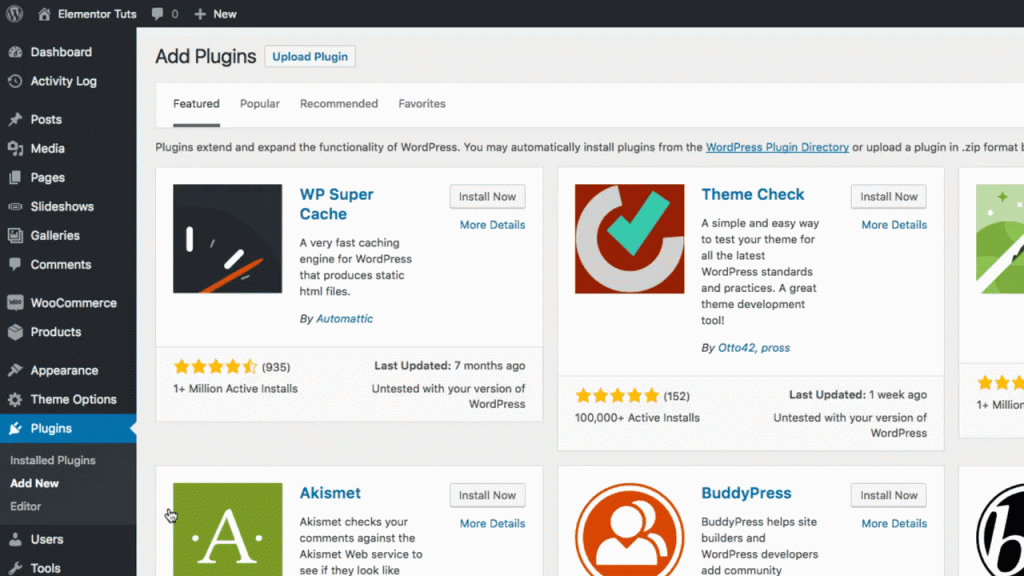
- Head over to your site, to the WordPress dashboard, and click on Plugins > Add New. Choose the zip file you have just downloaded. Click on install and activate
- On top of your site’s dashboard, you should get a message telling you to activate your license key.
Note: If you receive an error message saying that you are missing the style.css stylesheet, that means that you have tried to install this as a theme instead of a plugin. Elementor Pro is a plugin, not a theme. Install it as a new plugin only.
Download

Upload
Activate
Click to learn how to activate your license.
Note: If you encounter any issues with the ZIP File, check this article