By using the Elementor Video Playlist Widget, you can create amazing video content for your site visitors. It is useful for anyone who wants to showcase unique video content on their website.
Controls
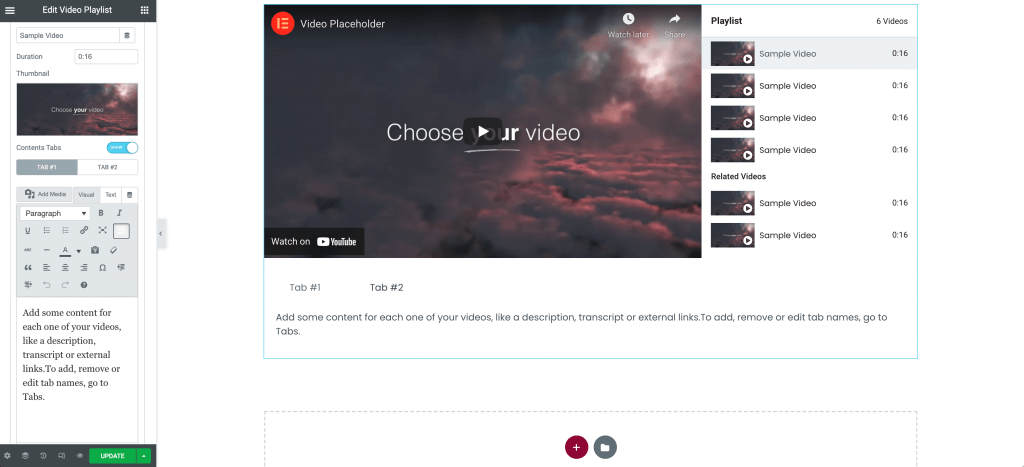
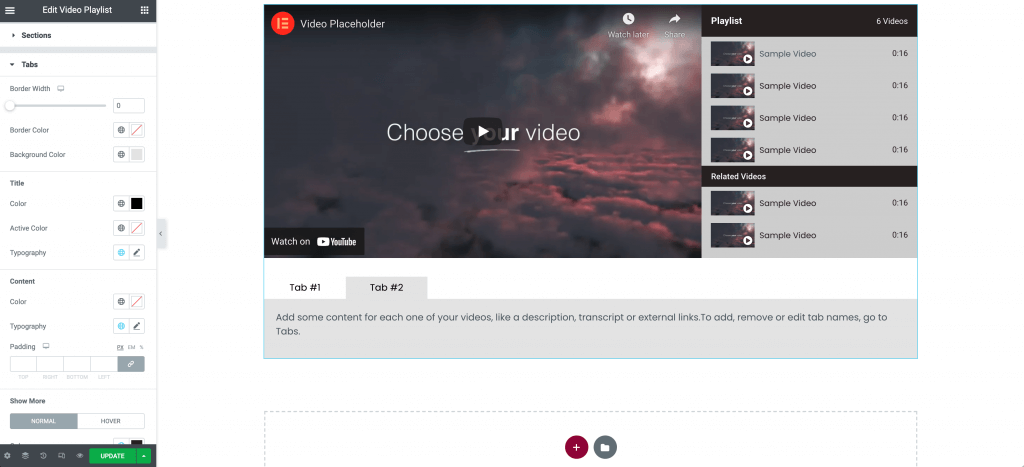
Playlist

- Playlist Name – Name your playlist by entering the desired text
Playlist Items
- Type – Select between YouTube, Vimeo, Self-Hosted, or Section
- Link – Enter The URL of the video you want to use
- Get Video Data – When clicked, the title and video thumbnail will be retrieved from the source
- Title – Enter your title to be displayed in the playlist
- Duration – Enter the duration of the video
- Contents Tab Toggle – If you wish to provide additional content below the playlist enable this by selecting Show / Hide
- Tab Content (if enabled) – Enter the tabs content in the text editor or use the dynamic options
Tip: Sections can be used to separate video categories or courses. You may use HTML to format the text or create links if needed.
Tabs
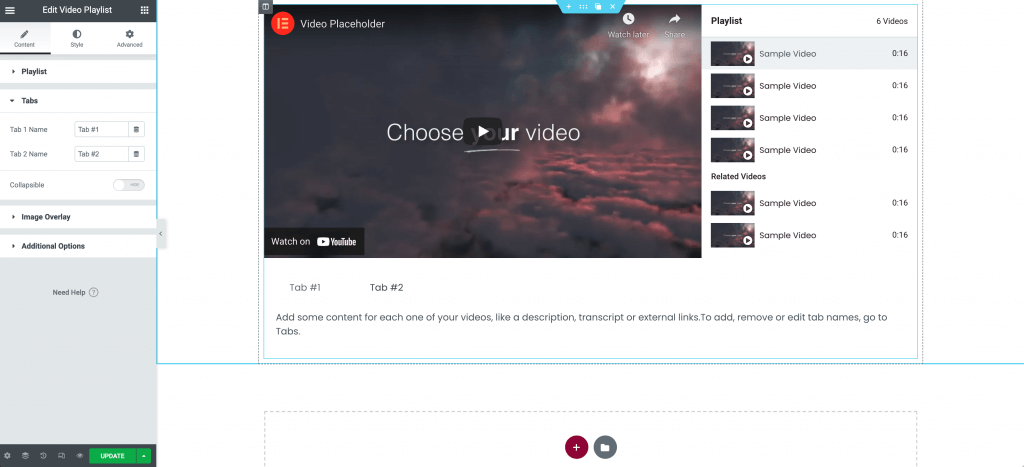
- Tab One Name – Enter the desired text or use the dynamic functions
- Tab Two Name – Enter the desired text or use the dynamic functions
Image Overlay
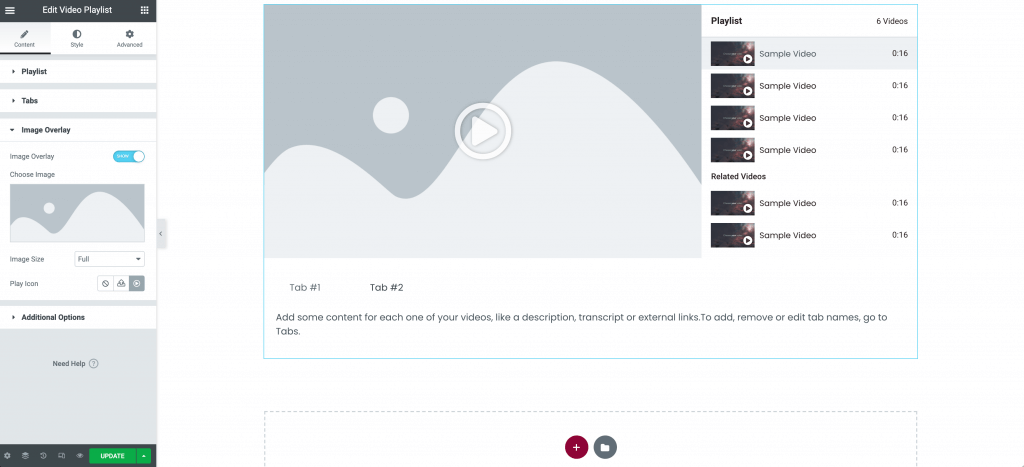
- Image Overlay Toggle – Select to Show / Hide the image overlay options
- Choose Image – (if enabled) Select a image from your media library or upload from your computer
- Image Size – Set the image size properties
- Play Icon – Choose a custom play icon from the library or upload in SVG format
Additional Options
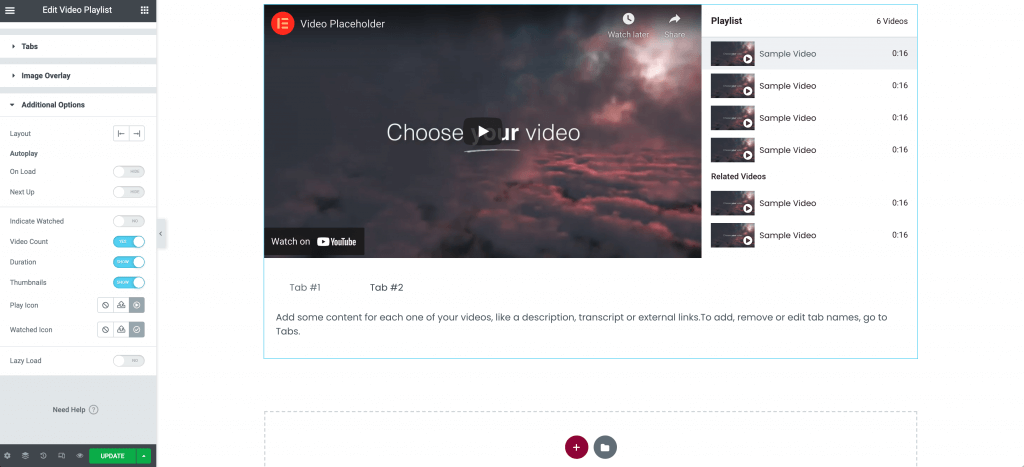
- Layout – Choose left or right alignment of the playlist
- Autoplay – Chose the autoplay options by selecting to show / hide on the toggles below:
- On Load – Playlist will begin on page load
- Next Up – Additional videos will play in succession
- Indicate Watched – Display a icon over the video thumbnail to indicate that a video has been watched
- Video Count – Show / Hide the number of videos in your playlist
- Duration – Show / Hide the time duration of your video in the playlist
- Thumbnails – Show / Hide the video thumbnail in the playlist
- Play Icon – Select the play icon to be displayed over the video thumbnail
- Watched Icon – (if enabled) Select the watched icon to be displayed over the video thumbnail
- Lazy Load – Toggle to enable Lazy Loading of the videos
Note: Autoplay is affected by Google’s Autoplay policy on Chrome browsers.
Style
Layout
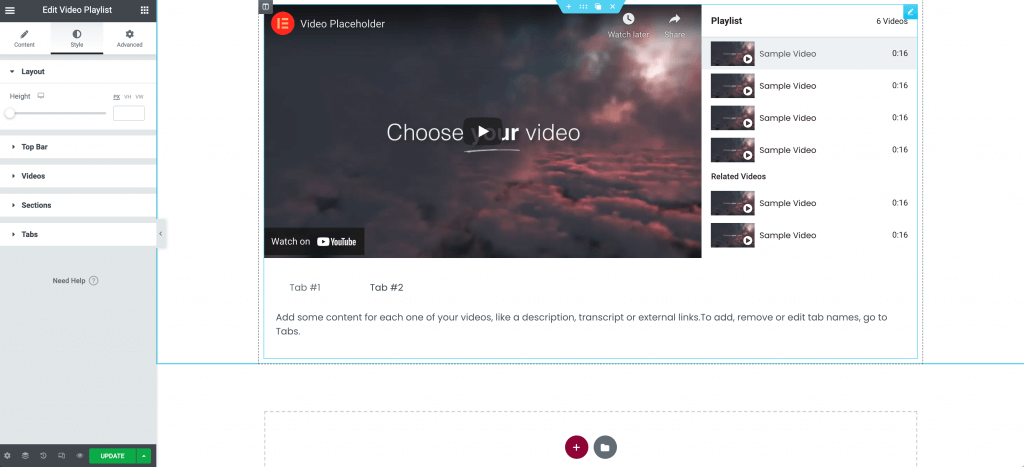
- Height – Use the slider to set the desired height of the playlist in PX, VH, or VW
Top Bar
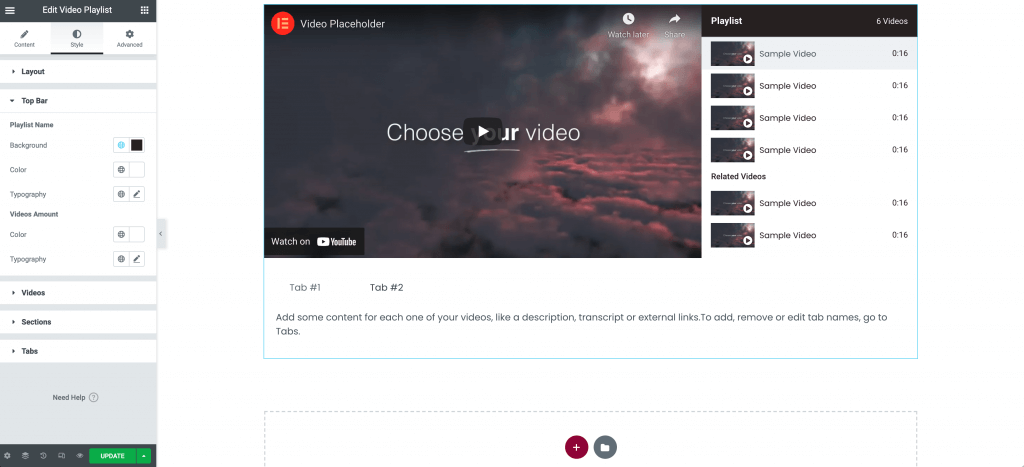
Playlist Name
- Background – Chose the desired color of the top bar background
- Color – Choose the color of the playlist name heading
- Typography – Set the font properties of the playlist name heading
Videos Amount
- Color – Chose the color of the amount text
- Typography – Set the font properties of the amount text
Videos
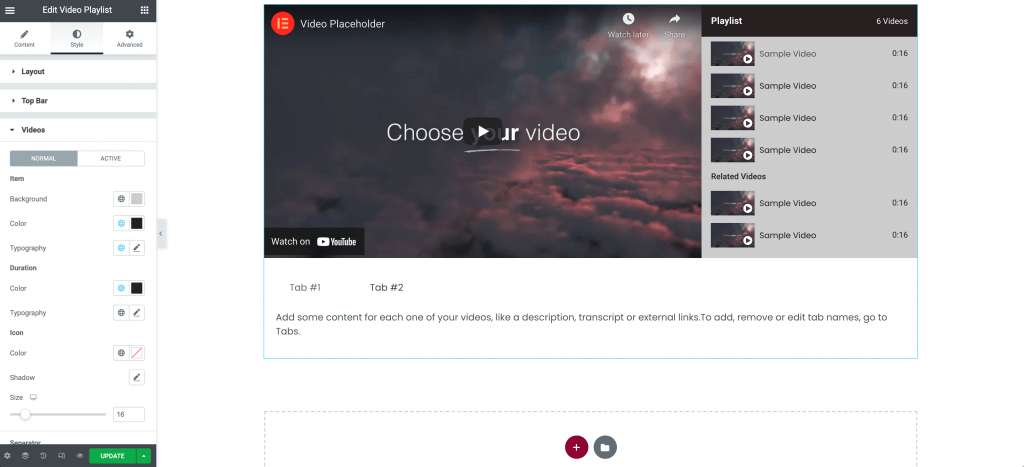
Item
- Background – Select the background color of the list item
- Color – Select the color of the text of the list item
- Typography – Set the font properties of the video title
Duration
- Color – Select the color of the duration time
- Typography – Set the font properties of the duration time
Icon
- Color – Select the color of the play or watched icon
- Shadow – Use the shadow options to display a shadow on your icon
- Size – Use the slider to increase or decrease the size of the icon
- Separator – Select the border properties between the list items
Sections
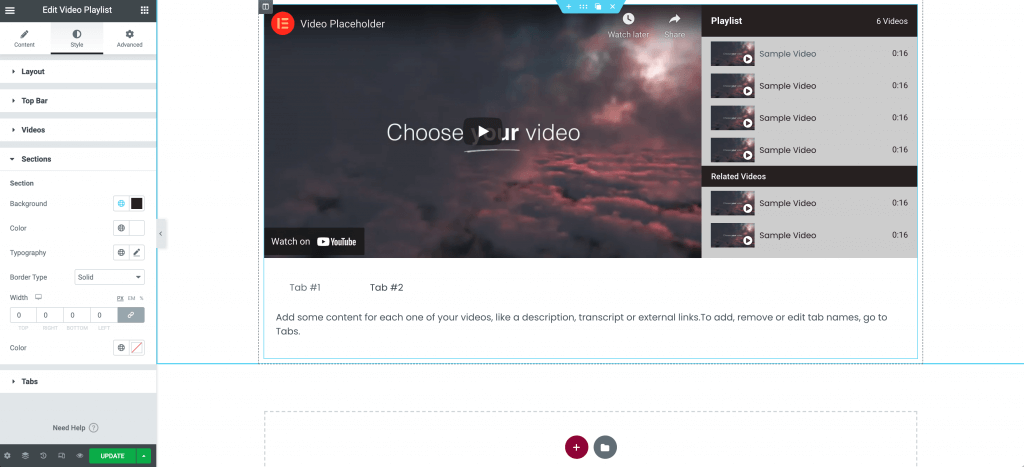
- Background – Choose the color of the section background
- Color – Choose the color of the text in the section display
- Typography – Set the font properties of the section text
- Border Type – Choose the border properties of the section
- Width – Set the padding width of the section
- Color – Choose the color of the border
Tabs
Tabs
- Border Width – Use the slider to control the slider width
- Border Color – Choose the color of the border
- Background Color – Choose the background color of the tab
Title
- Color – Choose the color of the tab title
- Active Color – Choose the active color of the tab title
- Typography – Set the font properties of the tab title
Content
- Color – Choose the color of the font in tab content
- Typography – Set the font properties of the tab content
- Padding – Adjust the padding of the tab content
Show More
- Color – Choose the color of the “Show More” heading
- Typography – Set the font properties of the “Show More” heading
Advanced
There are no additional settings specific to this widget, but it is compatible with the standard Advanced Tab options.